Patterns...fun, easy you'll want to try 'em all!
What you'll find in The Romantic Mom.com
Nubby Knitted Baby Hood & Scarf
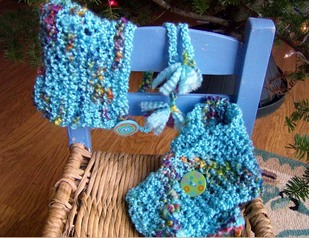
Ties: Cast on 30 stitches on #10 needles, knit one row. Secure each end by looping end with loose yarn.
Sew up the back with a large needle ( I just used a whip stitch). Tie the ties to the hood then add button or trim (optional). Add tassels to ends of ties.
Scarf: Using the same nubby yarn and #15 needles cast on 35 stitches, knit until width is 4-5 inches. Cast off. Attach coordinating button or crocheted flower to one end of the scarf about 3-4 inches from the bottom. Slide button through hole in other end of scarf (garter knit is large enough to slide through a hole....no need to make a button hole).
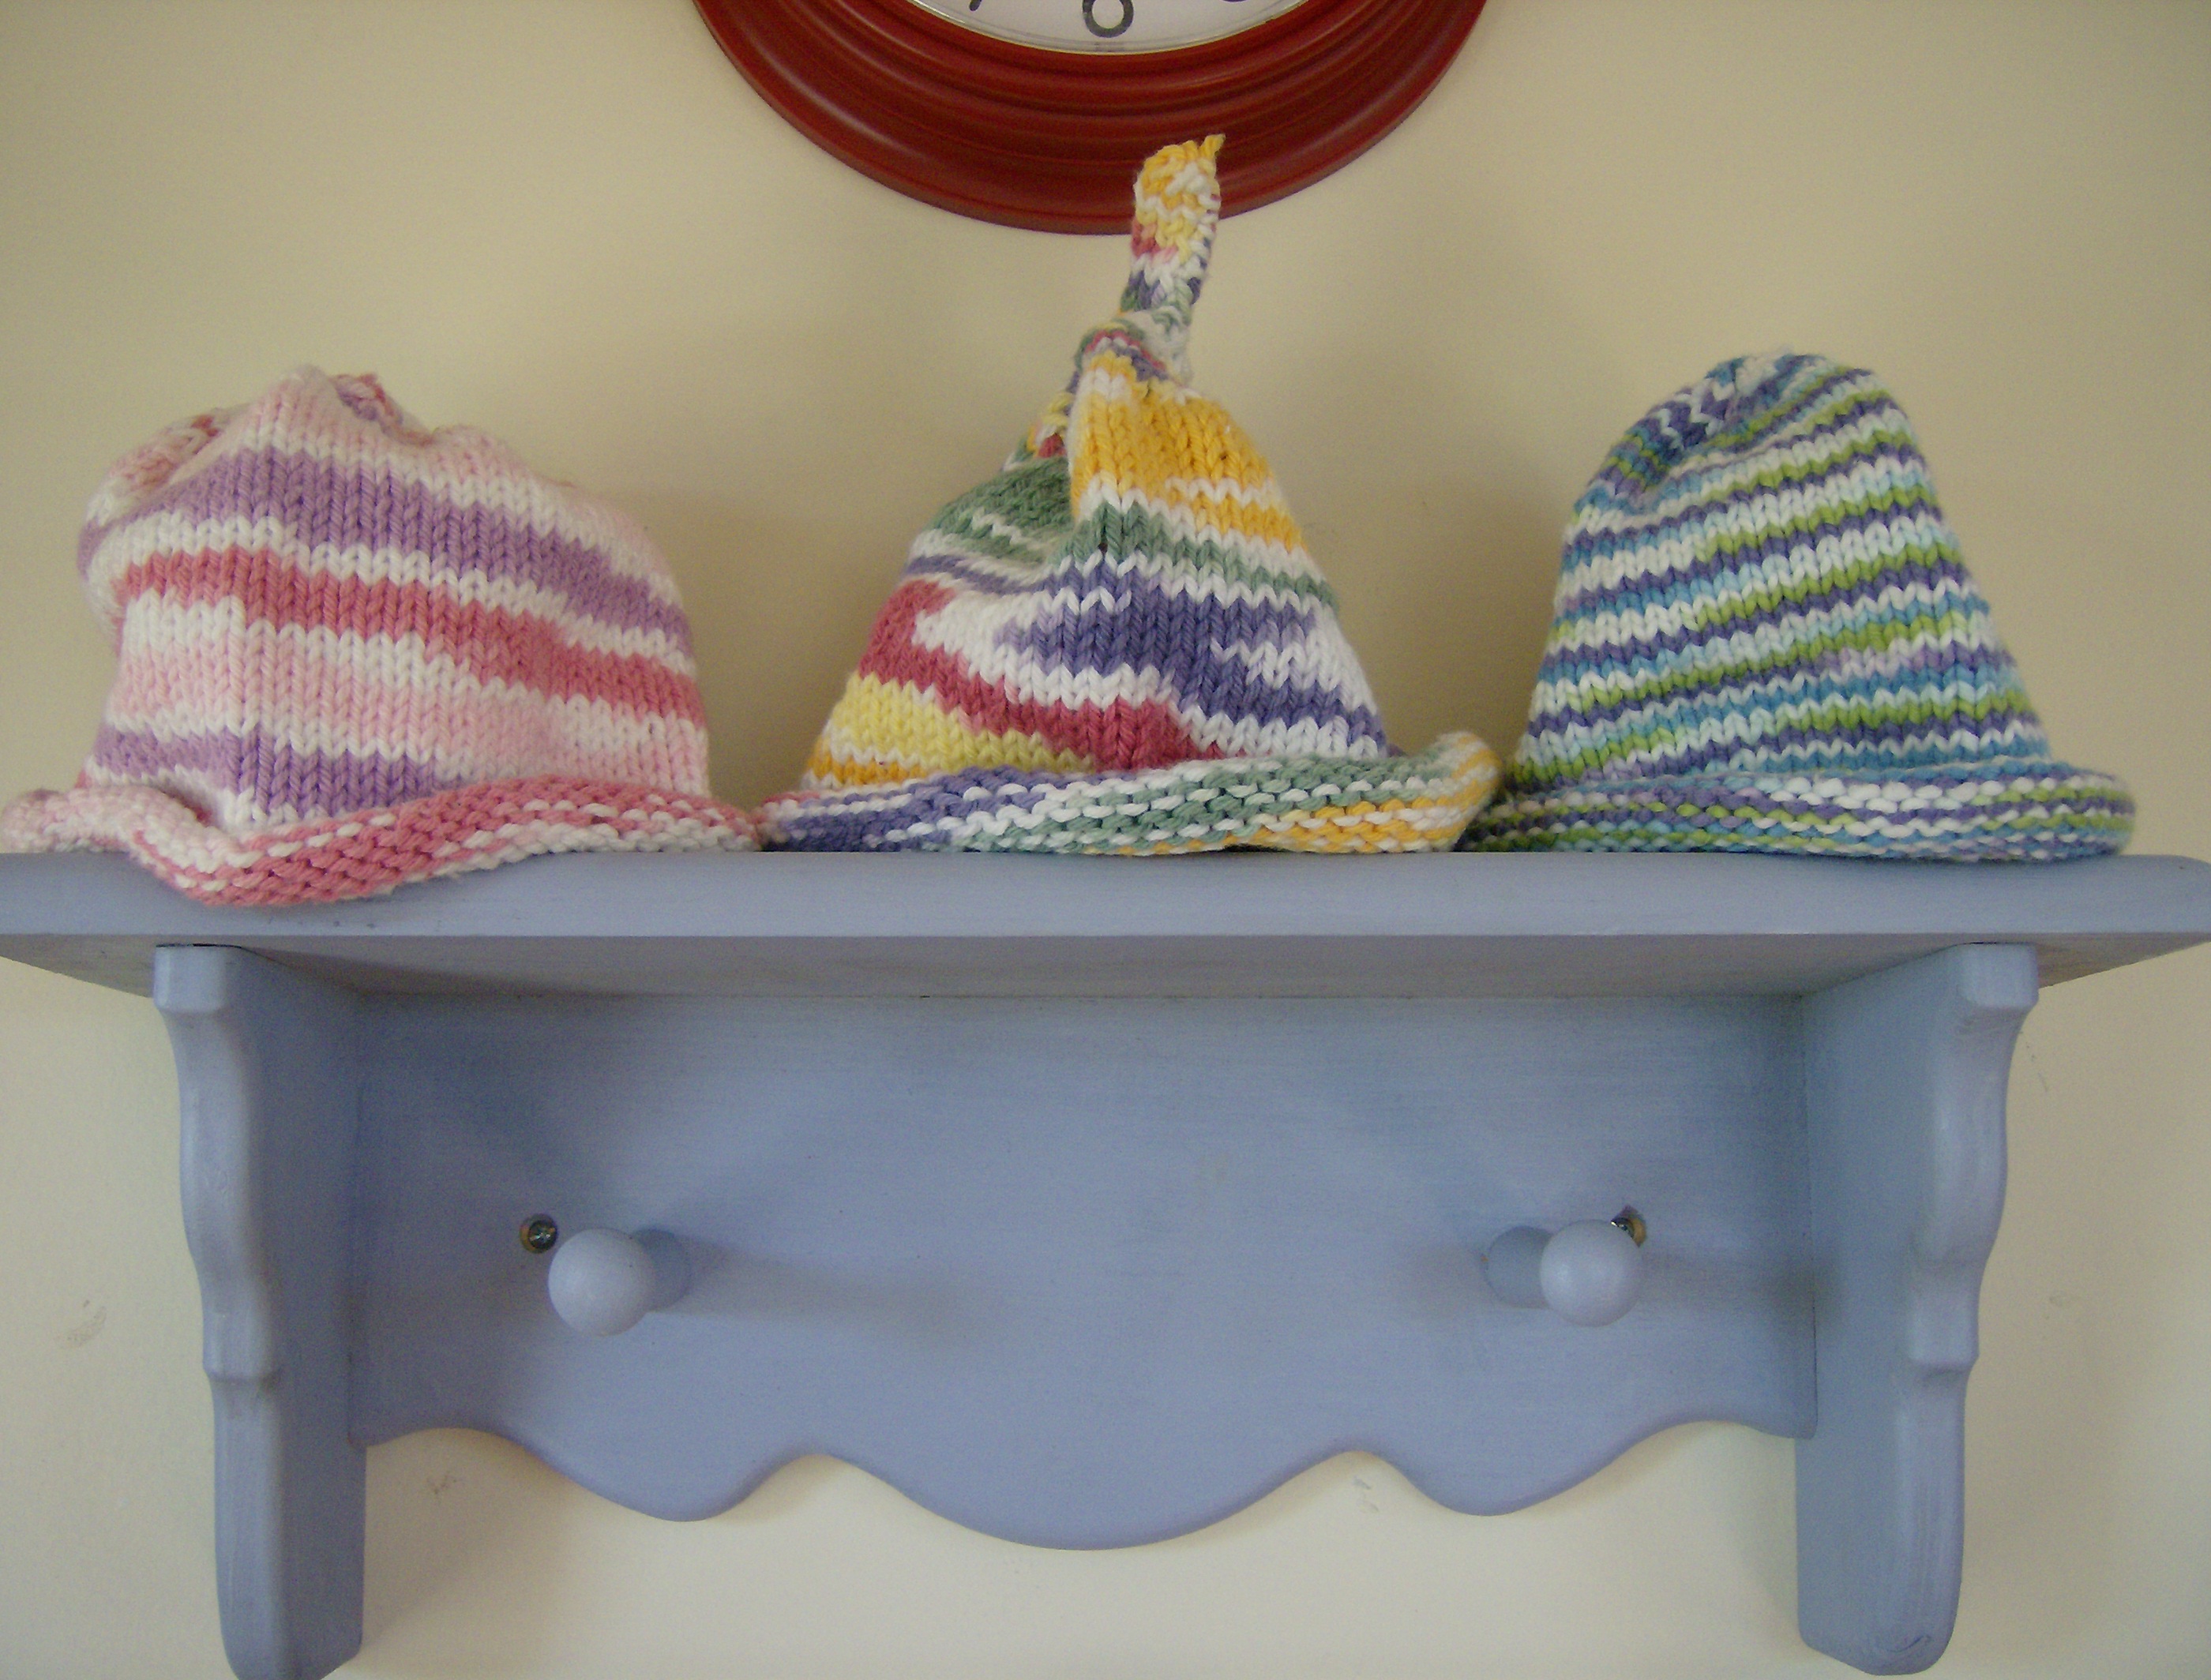
Roll-brim or Roll-edge Hats
I was given this pattern by lovely, little Helen who owns a lovely, little shop called Heavenly Socks Yarns in lovely, little Belfast, Maine. You can print her pattern (scroll down to Roll or Edge-brim hat). Plus all of her other fun stuff!
This is my variation on that pattern:
Sized for child's large, adult medium, and adult large
Peaches n' Cream cotton yarn and corresponding 16" circular needles (size 7 or 8) and double pointed needles to give a gauge of 5 stitiches = 1 inch
Cast-on 80 (90) (100) stitiches. Connect cast-on (careful not to twist), and work in the round in stockinette stitch (roll edge) for approx. 6 (7) (8) inches or until desired length or in K1, P1 (rib edge) for 1" to 6". Then work in stockinette until desired length. Place a ring marker, paper clip, or piece of yarn to mark the start of the decrease.
First decrease row:
Knit 8 stitches, knit stitch 9 and 10 together, repeat this pattern 7 (8) (9) more times to end of row which should be the marker. [This was a little confusing to me at first. Knit 8 then stitch 9 & 10 together for a full row. Then begin the next row, knit 7 then stitch 8 & 9 together. If you feel it's too much decrease then just knit another row the same without a decrease until you're ready to start decreasing again. [See? This is the fudge-y part I love about knitting!]
Second row:
Knit all stitches.
Note: When knitting gets difficult on circular needles, switch to double-pointed needles.
Third row:
Knit 7 stitches, knit 8 and 9 together, repeat to the end of the row.
Fourth row:
Knit all stitches. (You can delete this row after a few rounds to get more of a flatter top).
Continue this pattern - knitting one less stitch before knitting two together every other row until 7 (8) (9) stitches remain on needle. [For my EASY tail & tassel skip to below] Pull the yarn through the remaining stitches. Consider embellishing with a pom pom, tassel or crocheted strands of yarn. Have fun!
Roll-Edge Hat with Tail & Tassel
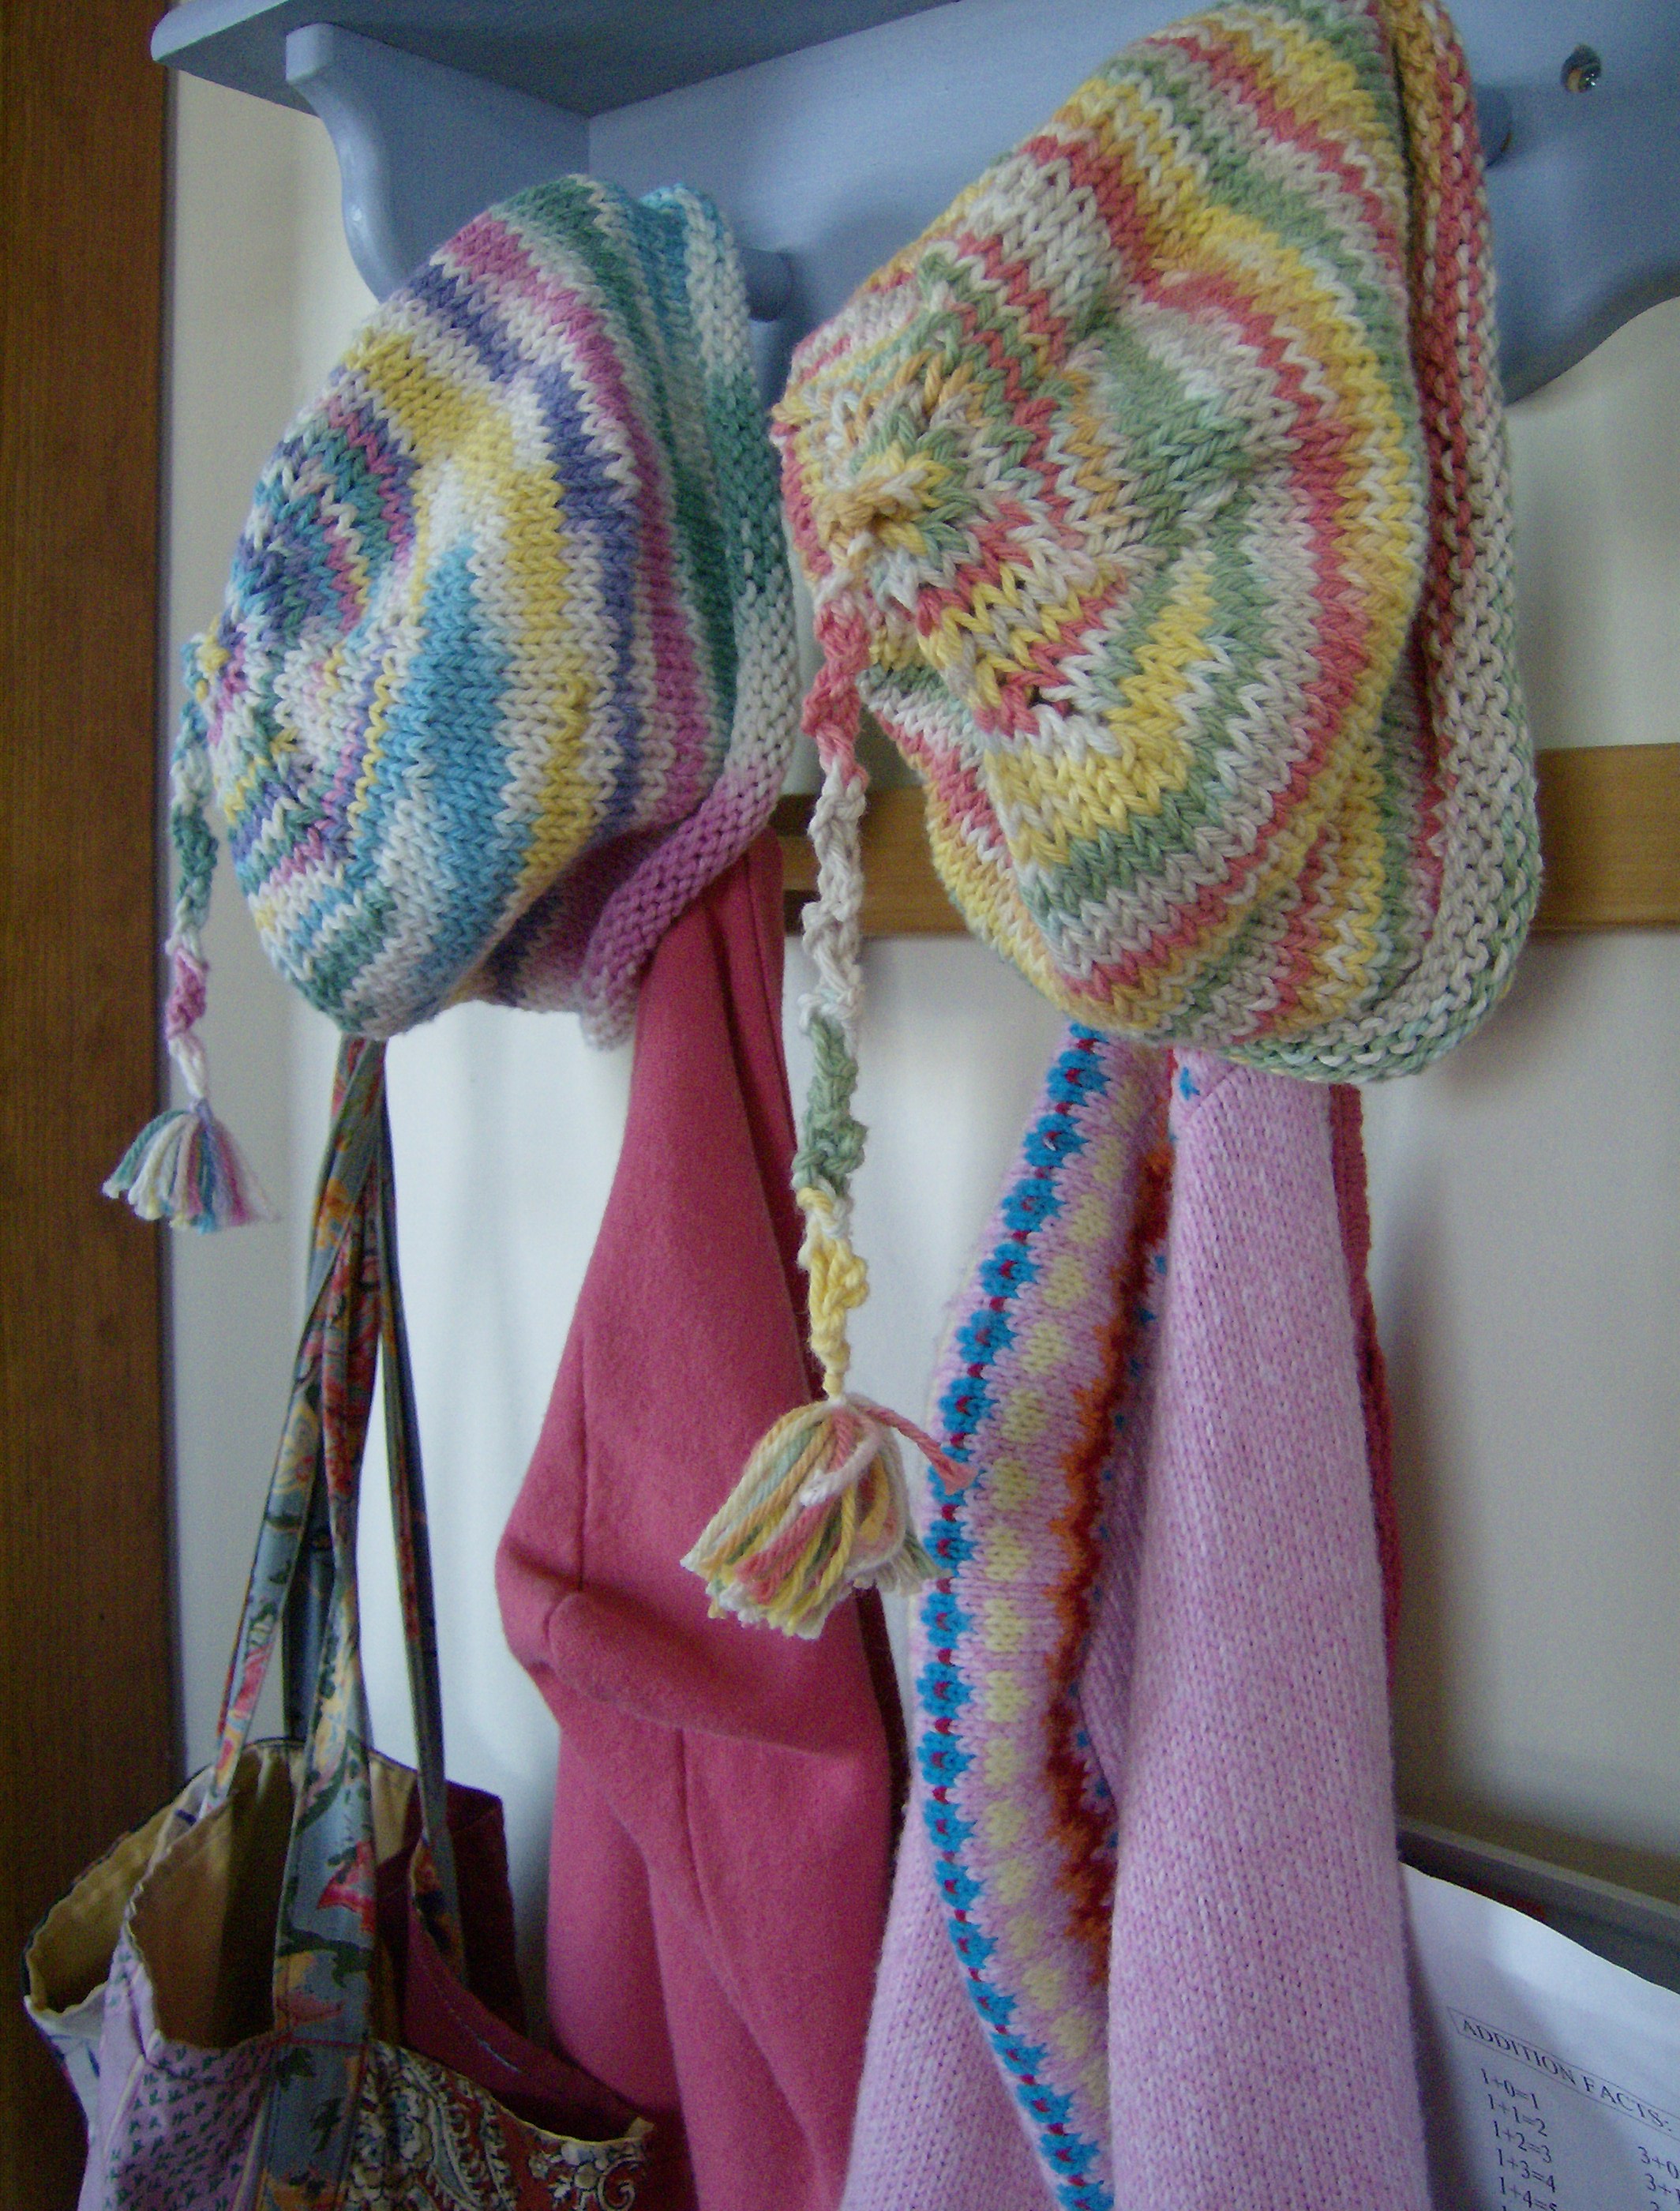
For My EASY Tail & Tassel: I switch to double-pointed needles when I have 28 stitches left on the round needles. This makes 7 stitches on each of 4 double-pointed needles.
I decrease down until I have 2 remaining stitches.
I then knit the stitches to the length of tail I desire. (Once you start knitting the 2 stitches it closes your hat and becomes a tail--very cool! Yes I made this up--I'm into wingin' it!).
At desired tail length, pull yarn through loop and use that yarn string to tie on your tassel.
That's it - you're done!
For My EASY Tassel:
Wrap yarn loosely around 1 - 1 1/2" cardboard rectangle several times until you get desired pom-pom fluffines. My tassels I leave a little on the skimpy side.
Cut one edge along fold.
Tie in center of the bundle with yarn string of tail.
That's it--now you're really done!
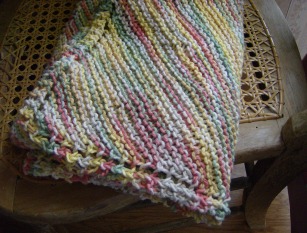
Eyelet-edged Washcloth
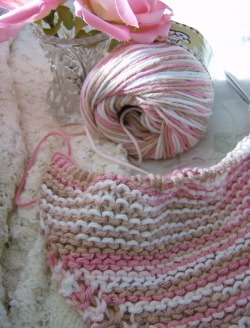
This eyelet-edged washcloth is made in durable cotton yarn that is really soft and as well as sturdy. Organic cotton yarn makes them even more eco-friendly and wonderful! Follow the directions below for the eyelet-edged baby blanket (which can also be used as a towel!) except start decreasing at 55 stitches. The pattern calls for larger washcloths at 62 stitches. You can really make these any size you want to - just begin to decrease at your desired size.
For a reversible bib, try adding ties with buttons on either end to button through the eyelet holes! I think you'll find these washcloths very sweet and simple to make...with a variety of uses!
Eyelet-edged Baby Blanket
This snuggly soft cotton baby blanket with an adorable eyelet-edge is so easy with only basic knitting skills Once again I used Peaches n' Cream cotton yarn on the big bolt size with size 5 circular needle, 29 inches or longer (that's why I ended up with my blanket at 26" rather than their 30"). I got this pattern from one of my favorite knitting books Knitting for Baby by Melanie Falick and Kristin Nicholas.
Gauge
18 stitches and 36 rows = 4 inches on size 5 needles in garter stitch.
Make First Half Blanket
Cast on 4 stitches.
ROW 1 Knit
Row 2 Knit 2 stitches, increase one stitch by making a yarnover (see tutorial), knit to end of row. You now have 5 stitches on your needle
Repeat Row 2, increasing one stitch, two stitches in from the edge, at the beginning of every row until you have 189 stitches for a 30-inch blanket (mine wasn't quite 189 for more like a 26" blanket). Your knitting is now a triangle shape (half of a square).
Make Second Half of Blanket
ROW 1 Knit 1, knit 2 together, yarnover, knit 2 together, work to end of row. You have decreased the number of stitches by one. (The first knit 2 together reduces the stitch count; the yarnover continues the eyelet edge established in the first half of the piece, and the second knit 2 together cancels out the increase created by the yarnover). Repeat row 1, decreasing 1 stitch at the beginning of each row (hard to remember to do at first, but don't forget to do this!) until 7 stitches remain.
Finish Blanket
ROW 1 Working with 7 stitches on the needle, knit 2 stitches, slip 1 stitch from the left-hand needle to the right-hand needle without knitting it, knit the next 2 stitches together, then pass the slipped stitch (the second one on the right-hand needle) over the first stitch (this is the same action that you perform when you are binding off--see tutorial), knit the last 2 stitches so you now have 5 stitches on your needle.
Row 2 Knit 2 stitches, yarnover, knit 2 together, knit 1--5 stitches remain. Bind off all stitches. Weave in all loose ends.
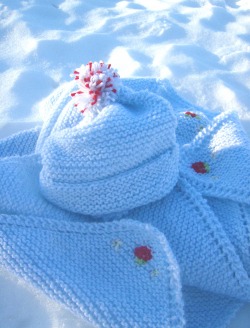
For even more fun, make a matching roll-brim hat. Also try this wonderfully, super-easy baby blanket by Purl Bee - even simpler than this one!
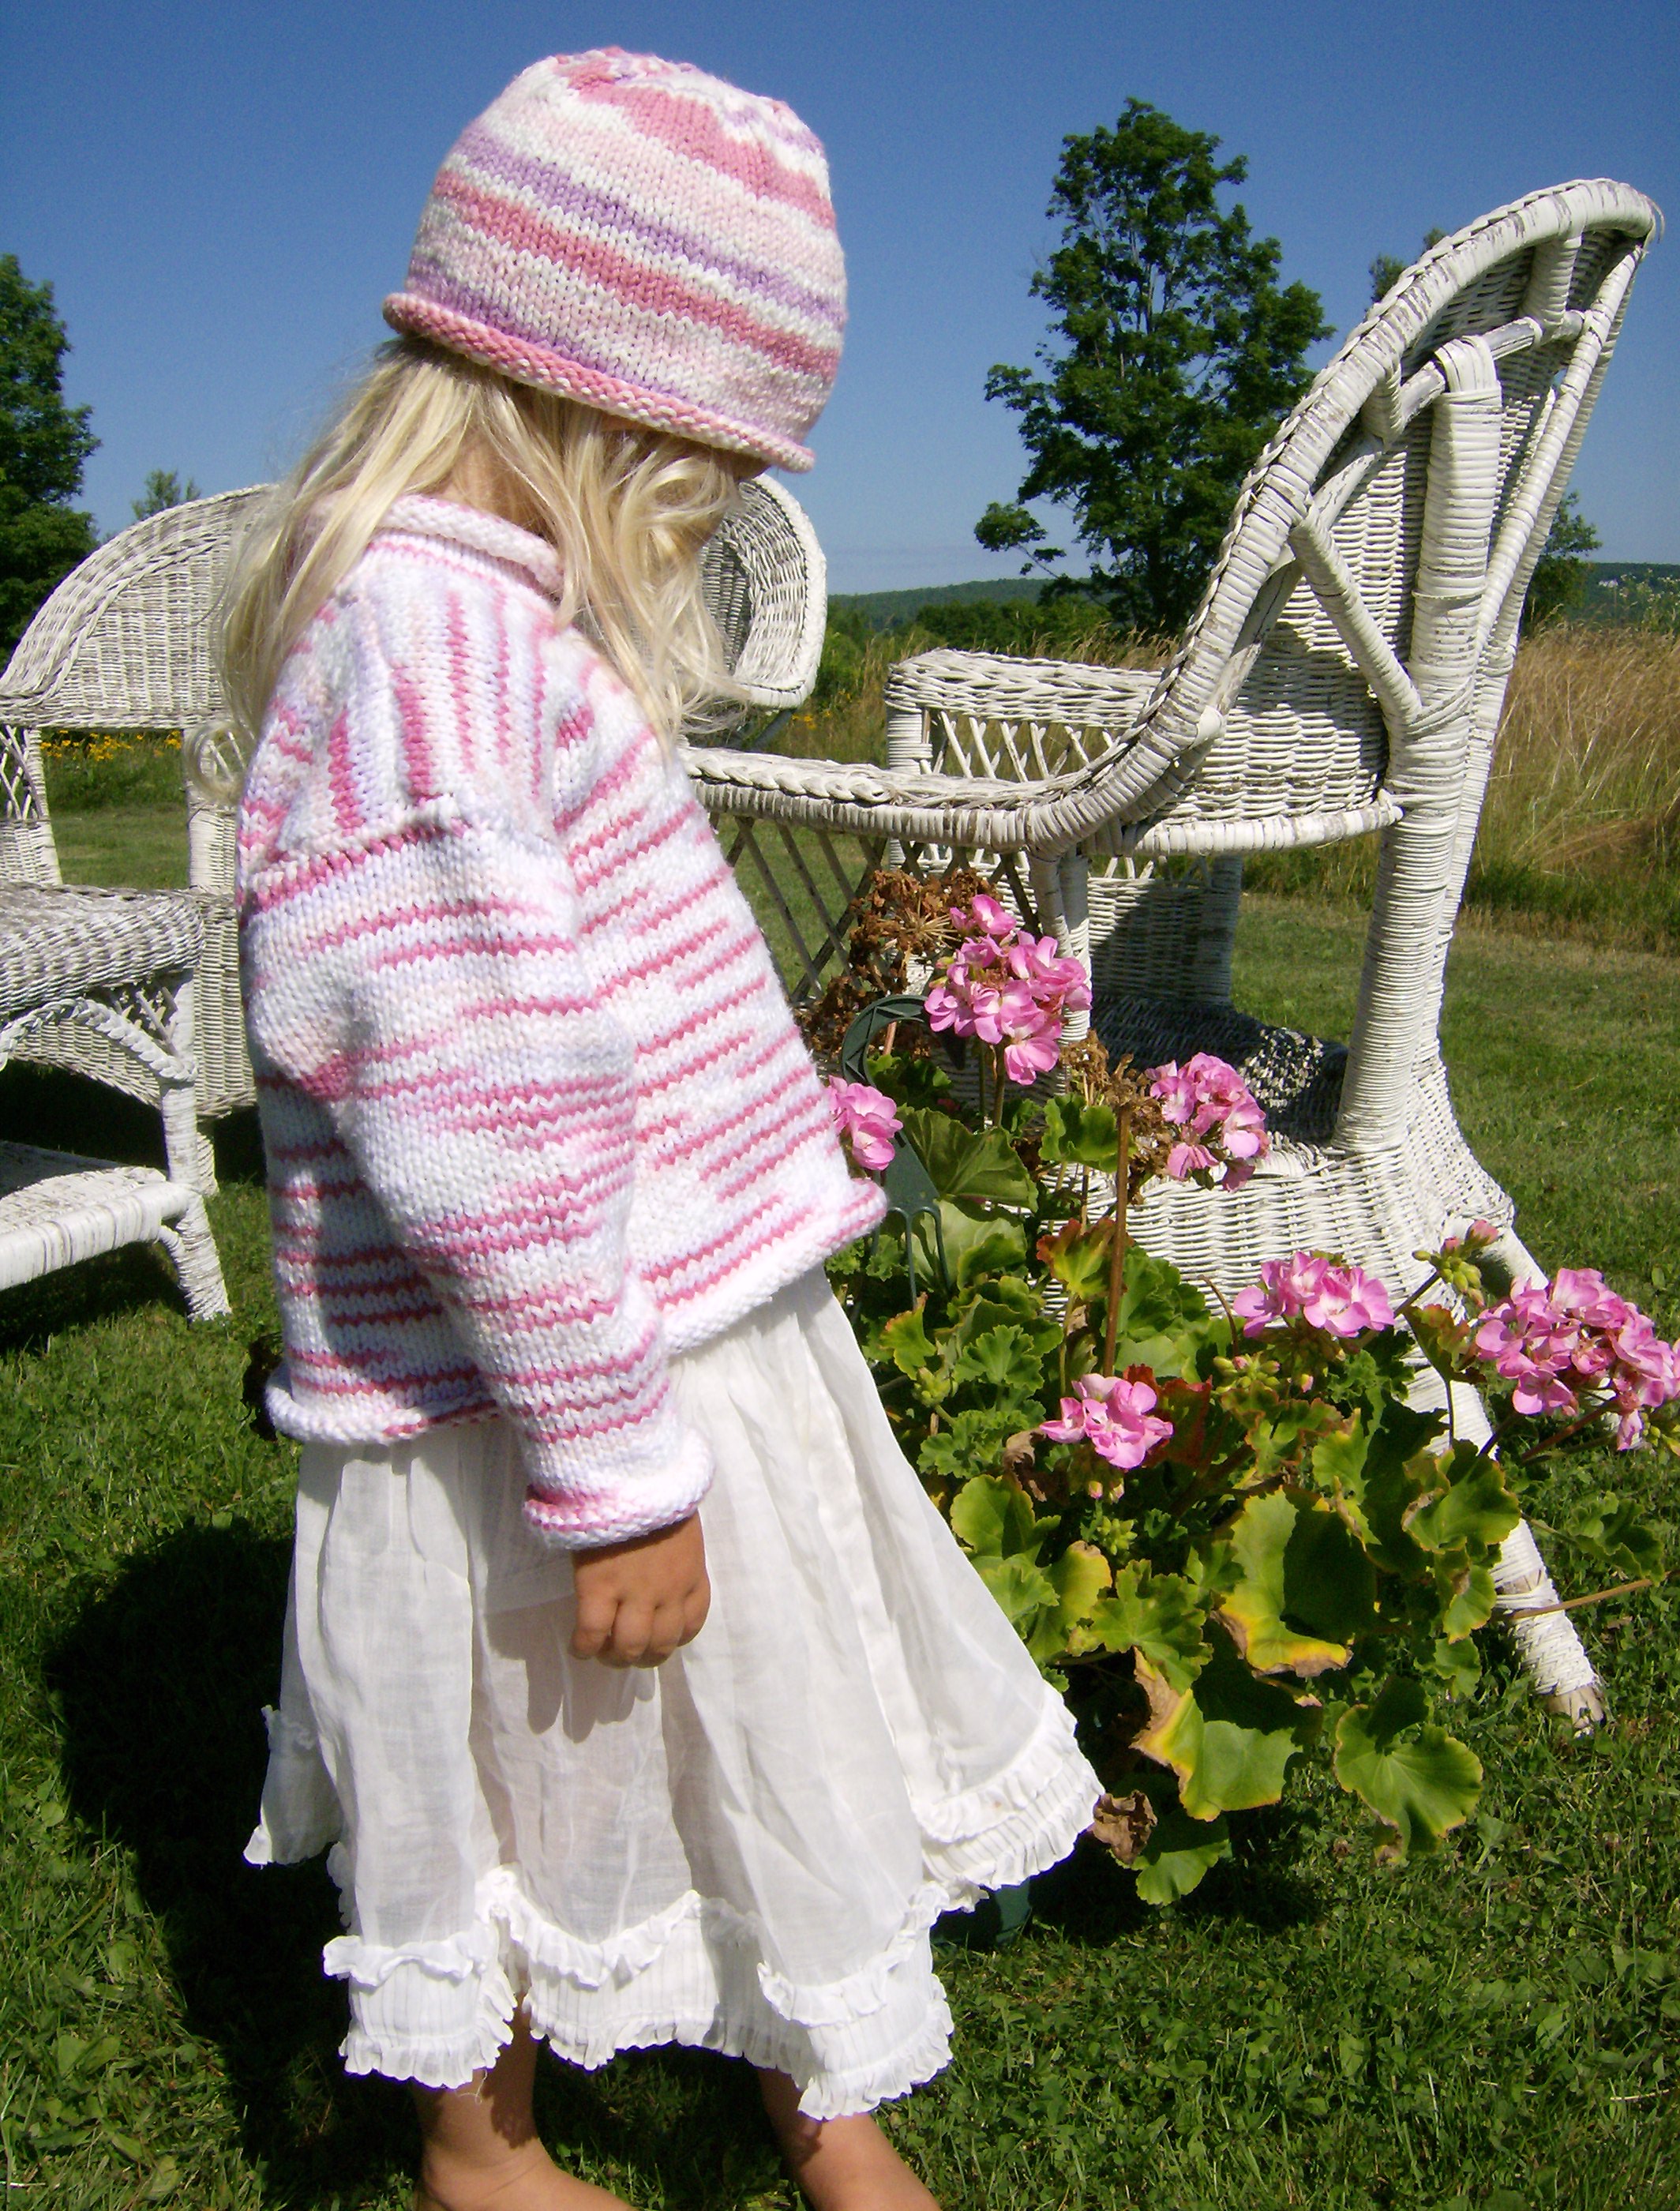
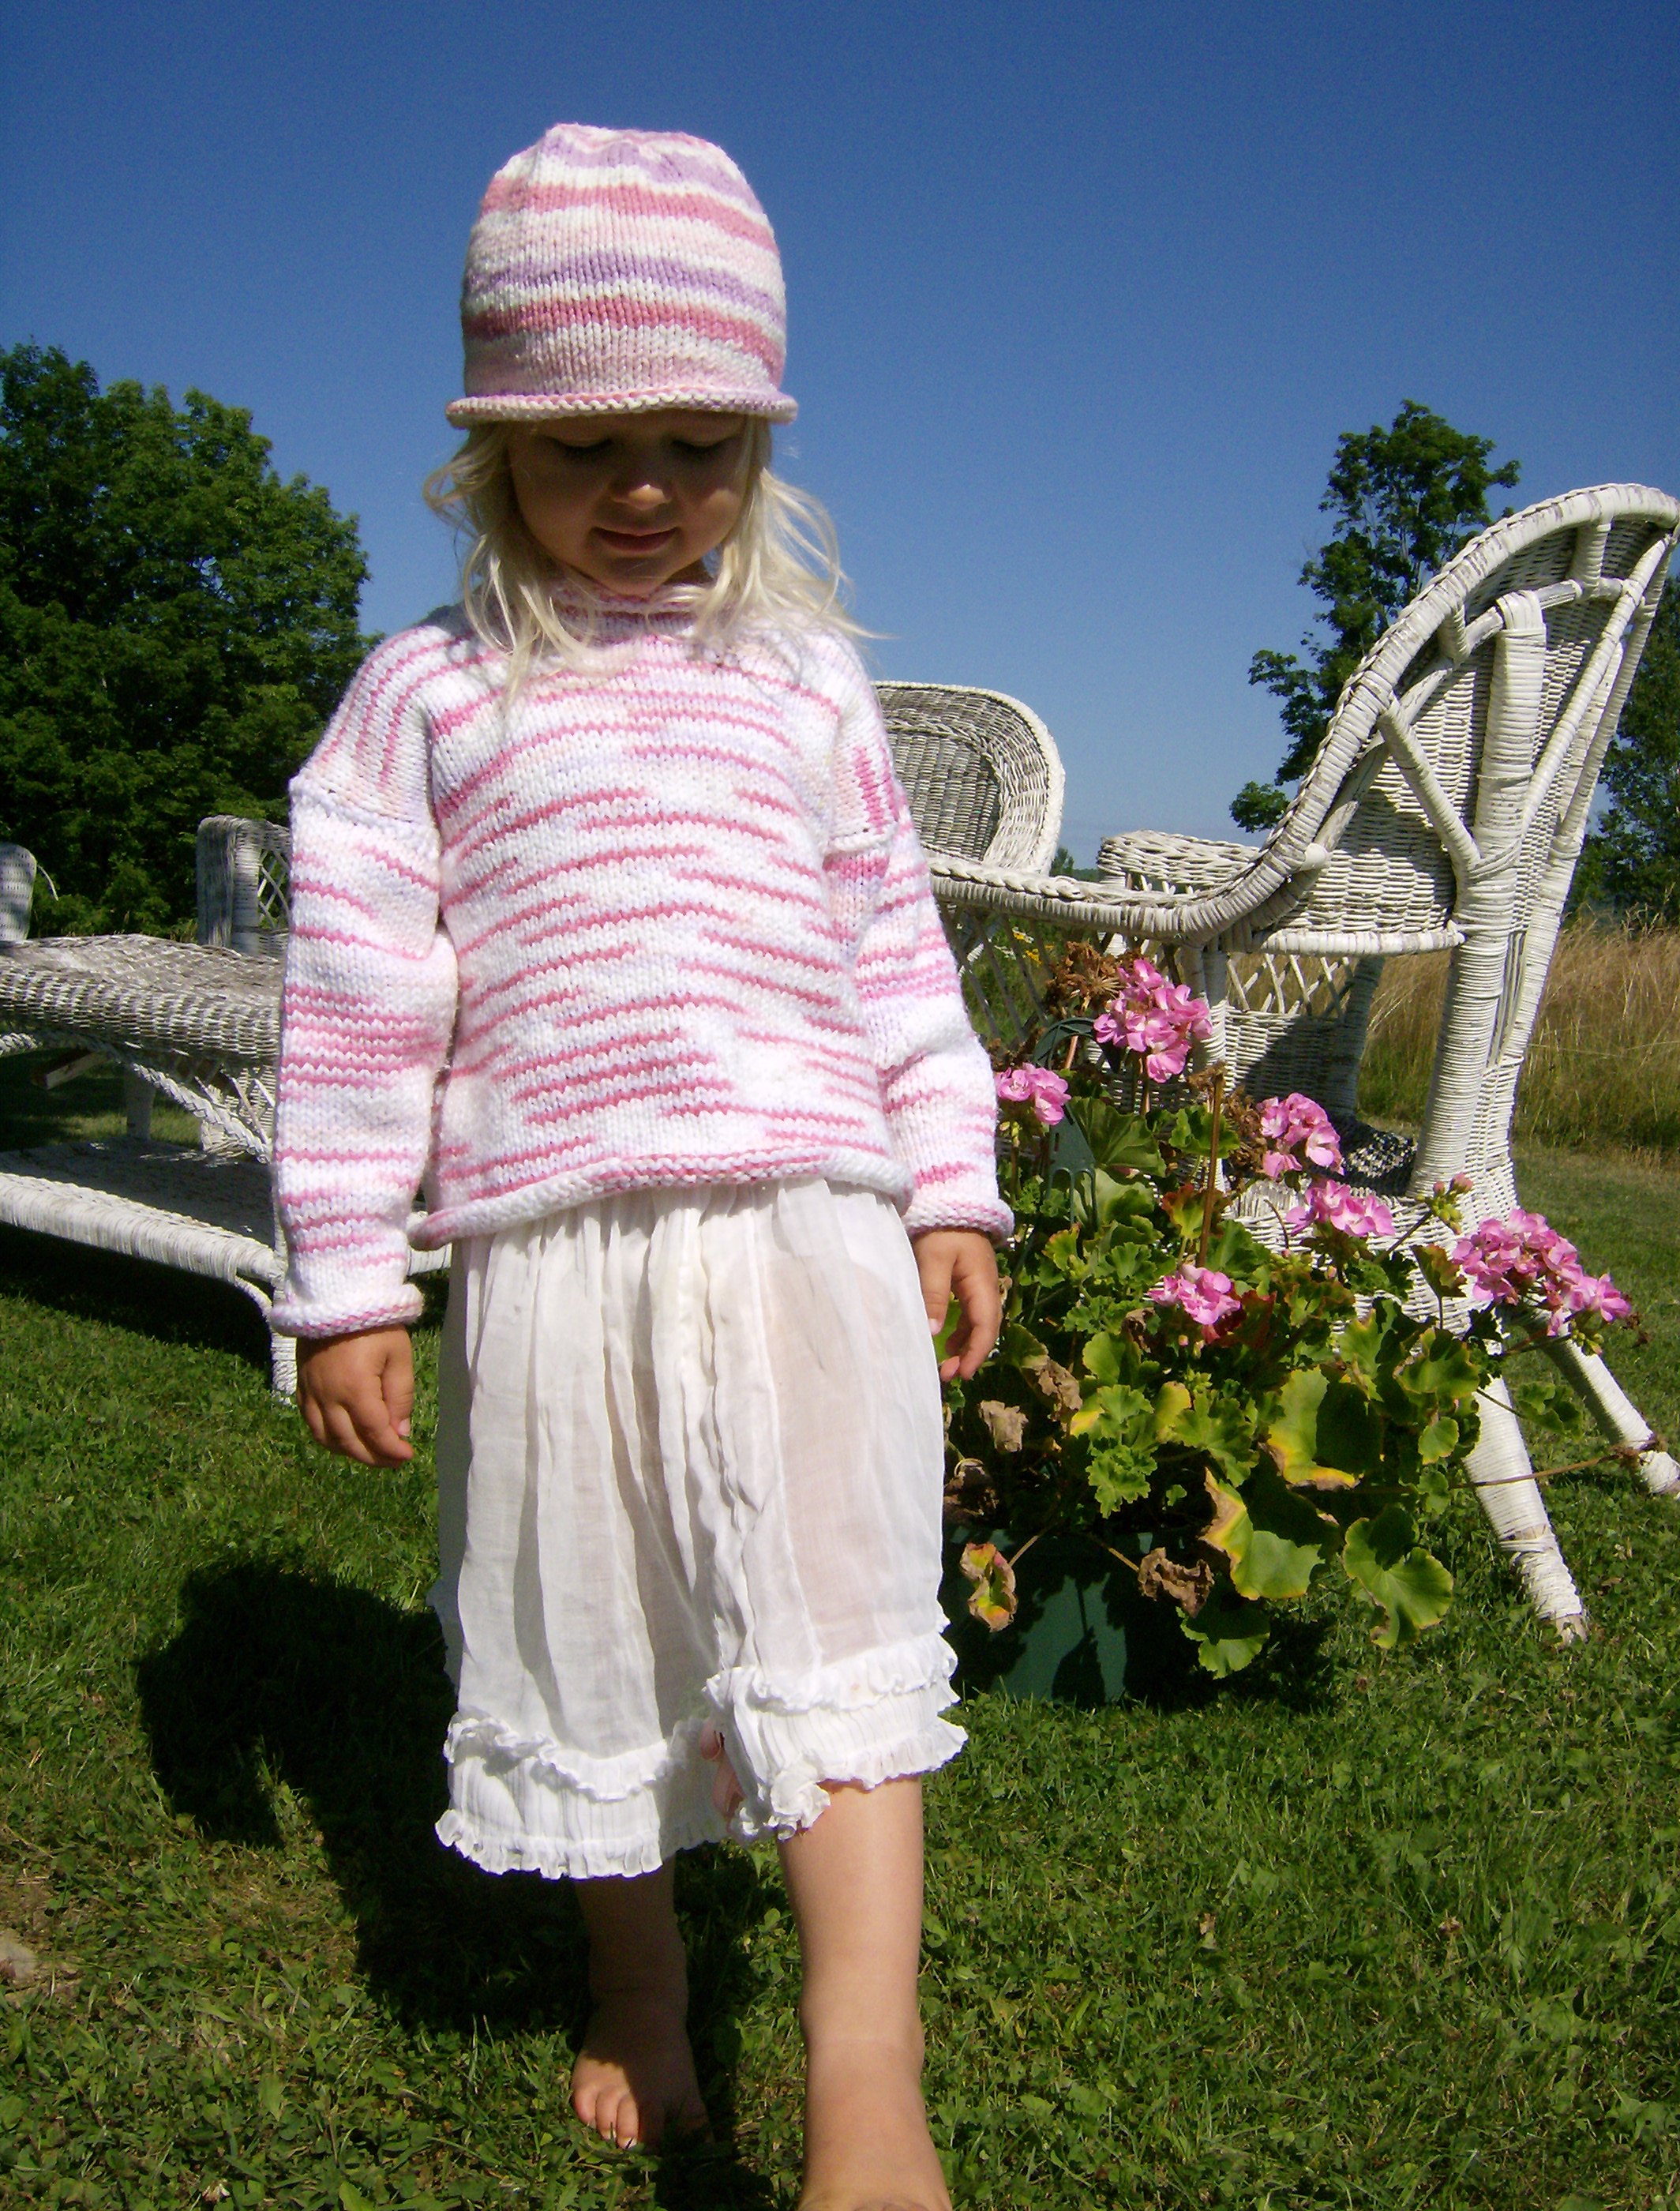
Garter Stitch Hat & Pom-Pom
Loosely cast on 56 stitches. Work in garter stitch (knit all stitches) until peice measures 8 1/2 in. tall (about 68 rows). Bind off loosely. It should be about 8 1/2 in. tall and 14 in. wide. Fold in half so that it measures about 7 in. wide and 8 1/2 in. tall.
Using the mattress stitch and a yarn needle, sew the open side and the top of the hat together. Weave in the loose ends. Stitche the top tow corners of the hat together so they meet in the center. Fold up the bottom 2 in. or so of the hat to create a cuffed brim.
For more photos see Ice Blue & Strawberries
To Make a Pom-Pom
Make one pom-pom leaving a tail several inches long when you make the knot. Use a 4 in. piece of cardboard and wrap doubled yarn (at least 40-70 times) around the cardboard until the desired thickness. Using the plied yarn in coordinating color (doubled) wrap around the center of the wrapped yarn. Carefully slip the wrapped yarn off the cardboard and tie the plied yarn in a knot at the center of the bundle. Slide scissors through the folded ends and cut the strands. Fluff out the pom-pom and cut off any straggling ends to shape the pom-pom. Use the tail to tie the pom-pom to the center of the top of the hat (where the two corners are stitched together). Secure the tail on the inside of the hat.
Sweater or Sweatervest
Coming Soon!
I got this pattern from Helen, too, but I couldn't find it on her site anymore. It has a nice diagram with it so I'll copy it as soon as I can - I promise!
Petticoat Skirt
All you need for a skirt like this is a cafe curtain with a ruffle along the bottom.
Measure to the length you want--cut from the TOP (don't cut off your ruffle for goodness sakes!) then run wide-band elastic through the top.
Sew on a soft pink flower for trim (like this one) or just leave it perfectly plain....
Voila! You've got an adorable little skirt!
