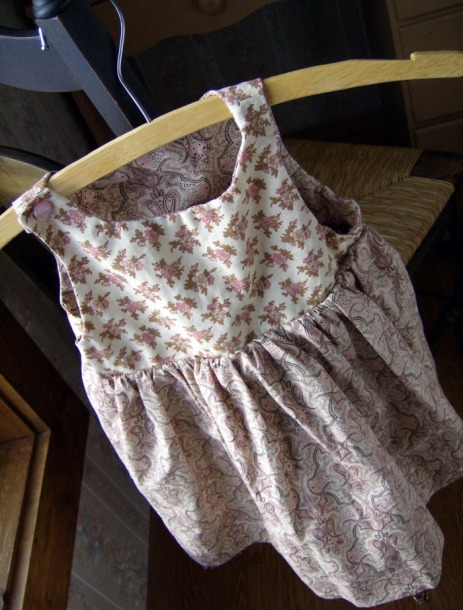
Yes, it's just days before Christmas...and we're counting down to all the things I still haven't gotten finished...much less into the post office! This is the little dress that's supposed to go with the blanket I've been knitting. Well, would you believe that with only about 4 inches left to go on that blanket...I ran out of yarn? OK, so what, get more yarn. That's been my problem. This yarn color that I've seen everywhere from Wal-mart to craft stores is suddenly MIA!! As in nowhere to be found! BUT I will find it! In the meantime, however, I wanted to send the dress anyway...
So here I am down to the last minute and I'm intimidated beyond belief of my sewing machine contraption and how exactly to sew a buttonhole! I've done it before when my mom was here...but that was eons ago. Turns out that this was such a total non-issue that I'm still dizzy-headed as to how completely uncomplicated and easy this was! Give me lots and lots of buttonholes, please, this a button-sewin' breeze!
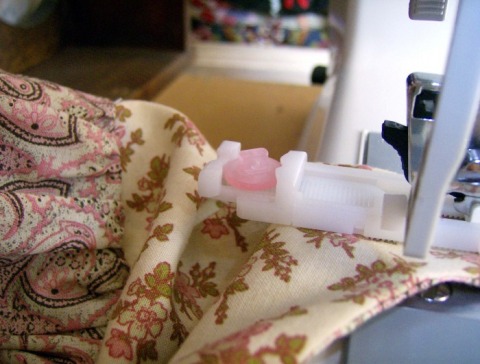
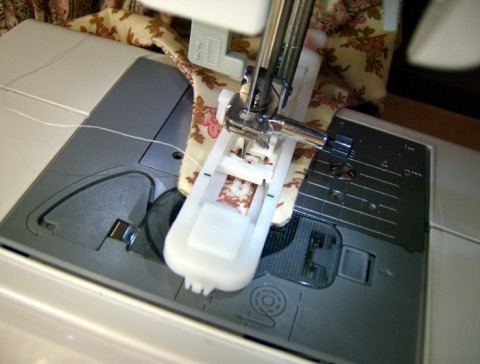
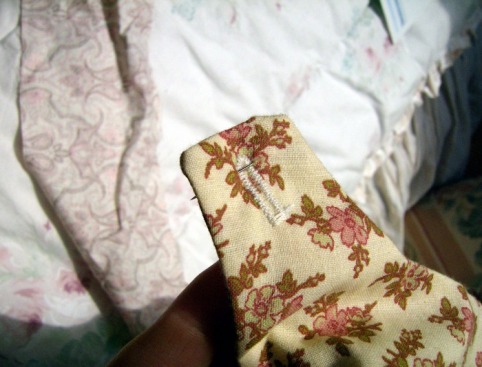
First I located the buttonhole foot and got my little button loaded in the back of it. This automatically measures the size of the buttonhole that's needed. OK that wasn't too tremendously difficult...
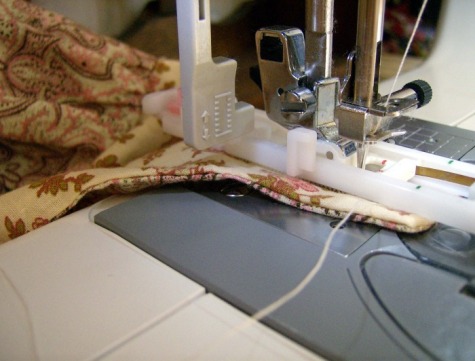
Then all I had to do was change the setting number to the buttonhole type that I wanted and next just hold onto that top little thread there....pushed the gas pedal and the machine took over...did it all...reinforced...then just stopped automatically when it was done. Wow! I'm so amazingly impressed with modern technology....and my new best friend...MY SEWING MACHINE!! : D
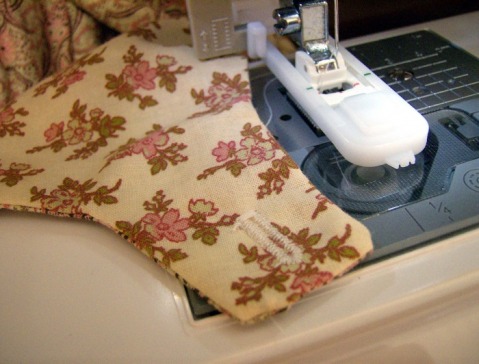
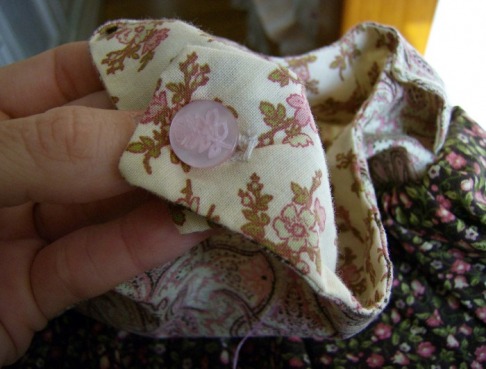
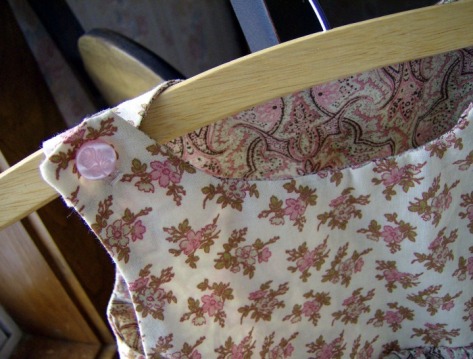
Voila!! There it is! Is that a beauty or what...??
Next, I had to run a pin through the top of the buttonhole so that when I ripped open the hole part it wouldn't go into the stitches of my beautiful buttonhole...that would definitely not be a good thing!

Here I go with the ripper up through the center...
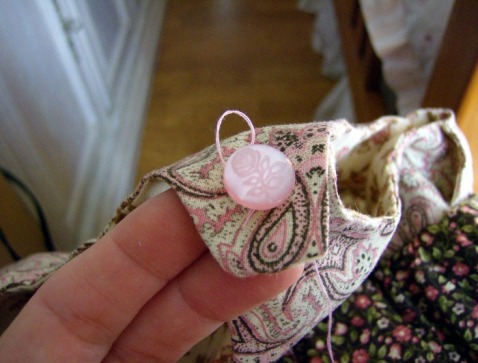
I sewed on the button and...it works! Yippee!! I am enthused!!
Since I've made this a reversible dress, I needed a 'fake' button on the other side, too. So here I am sewing on the 'fake' button for this side of the dress...
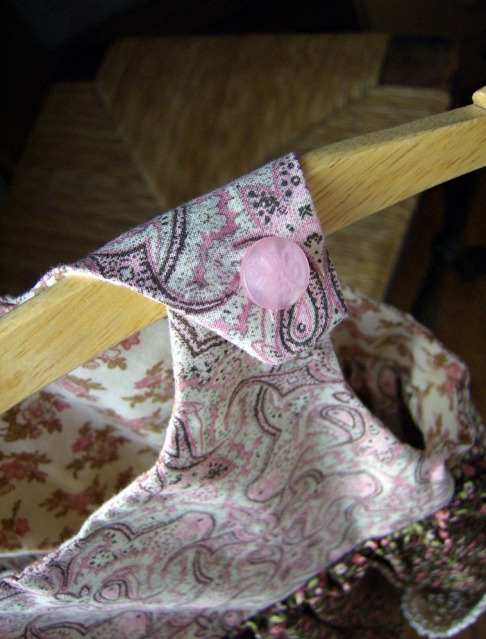
There. That looks pretty convincing, doesn't it? In retrospect, I would probably use flatter buttons next time. Two of this style button were a little on the thick side...I just loved the little rose design they had on them and didn't think about the chunkiness factor....but hopefully it'll be alright....
So here is Side 1 of the dress...
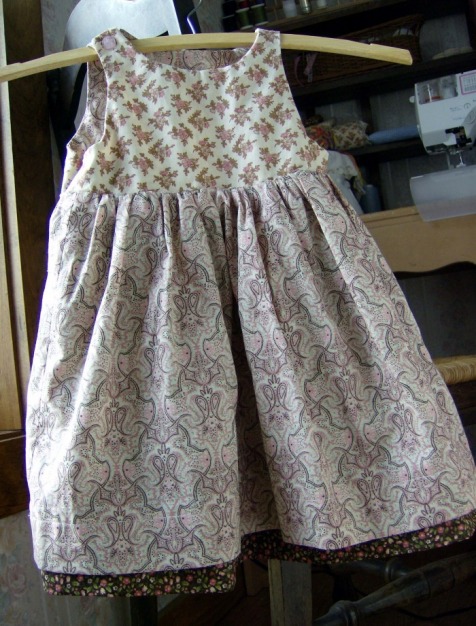
The brown skirt from the other side is peeking out at the bottom...the next photo shows that a little better...

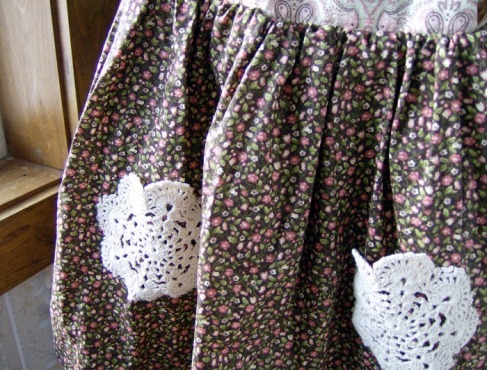
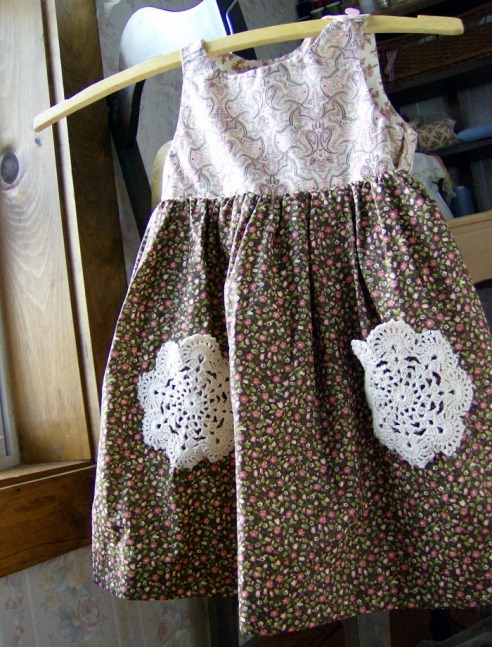
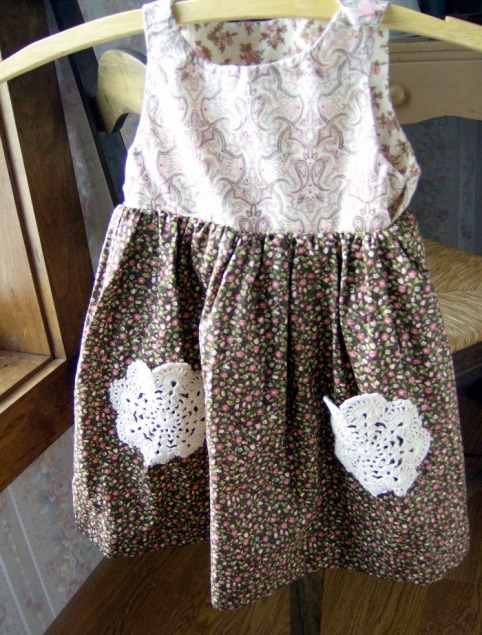
We were trying to get this to post office before it closed at noon...however I really felt like Side 2 needed some sort of embellishment...but what...?? I had a stack of cream doilies and decided they would make some cute pockets. So in a hand-stitch-whipping frenzy I got a couple of pockets on in record time...
And all the girls in the house thought they were absolutely adorable! Now I know what I'm going to do with that stack of doilies...
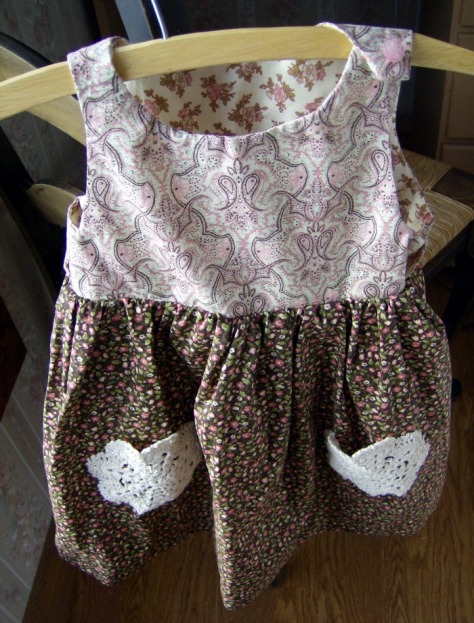
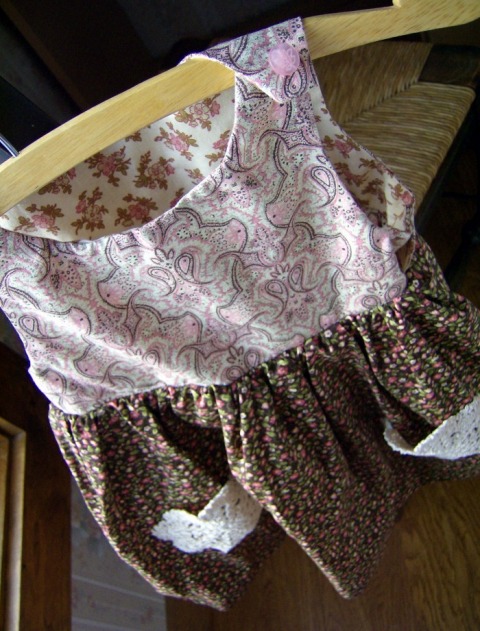
I tacked together the two sides of the bodice under the armholes (only about an inch of fabric)...and it was finished!! Ready to fly to Tennessee and little Chelsea! At first I thought Side 1 could not be outdone...but I think I've now become more partial to Side 2! Either way I'm ready and rearin' for the next dress! Bring it on!! : D